|
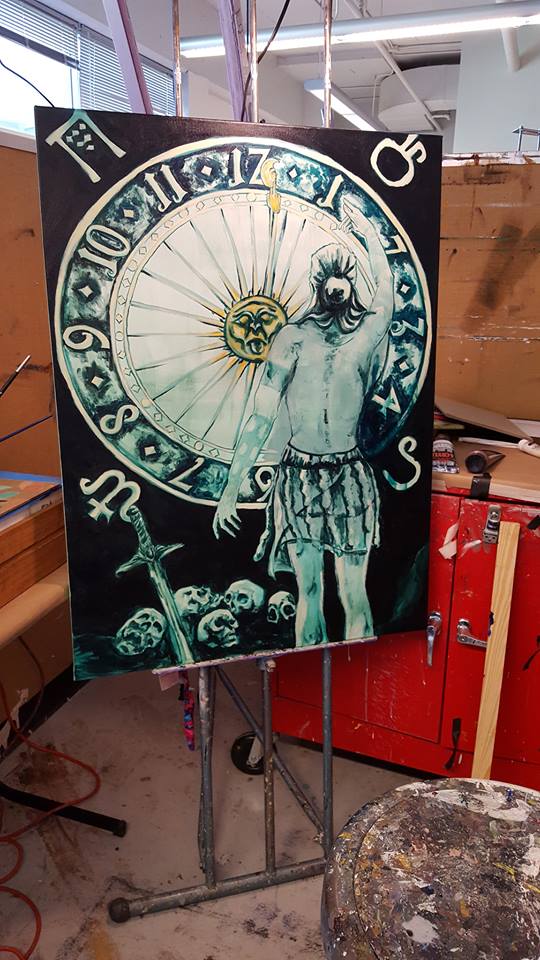
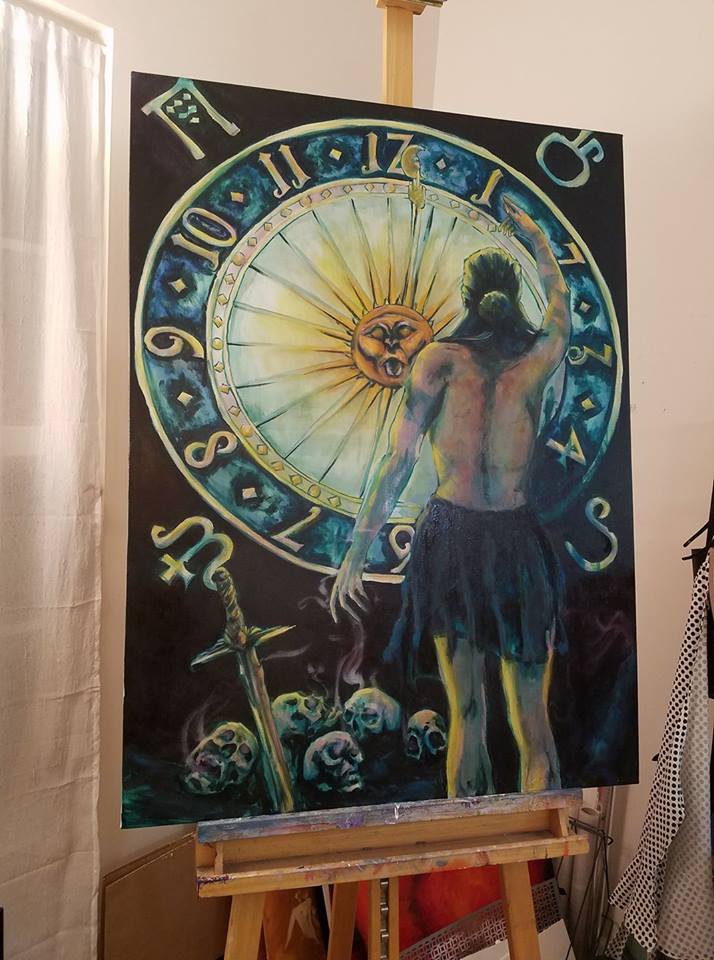
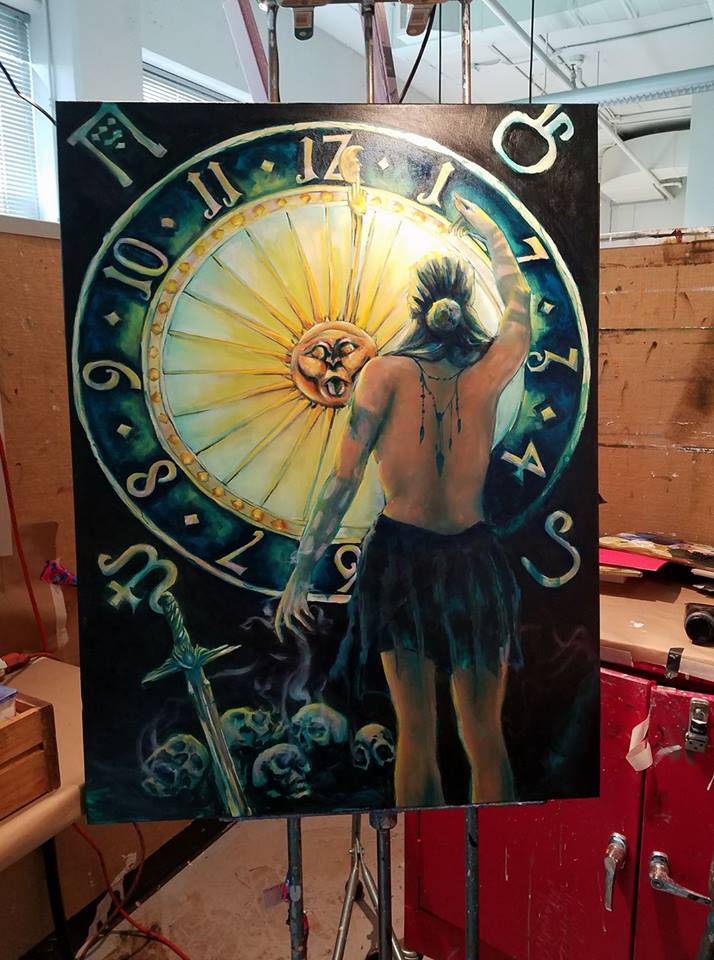
Perception of Life and Death
Stage 1: Completed base layer with acrylic in monochrome veridian. Stage 2: Added minimal color scheme of base colors in acrylic. Stage 3: Began using oils. The bright areas are pushed with more opaque oils. The dark shadows were slowly added using glazes of ultramarine, phthalo blue, and alizarin crimson. |
|
|
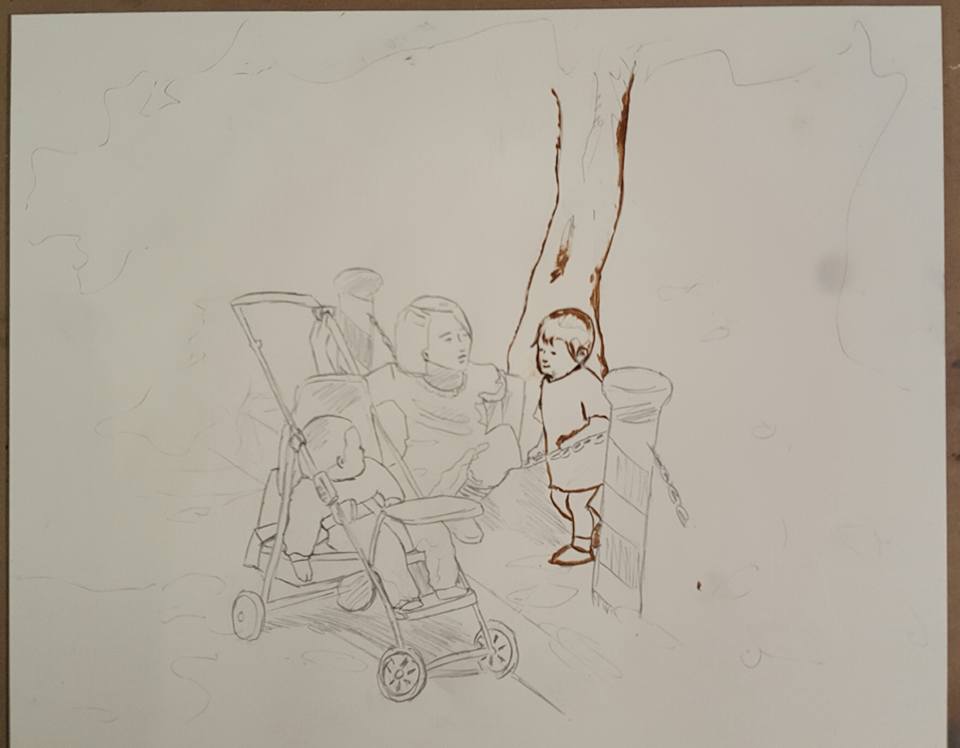
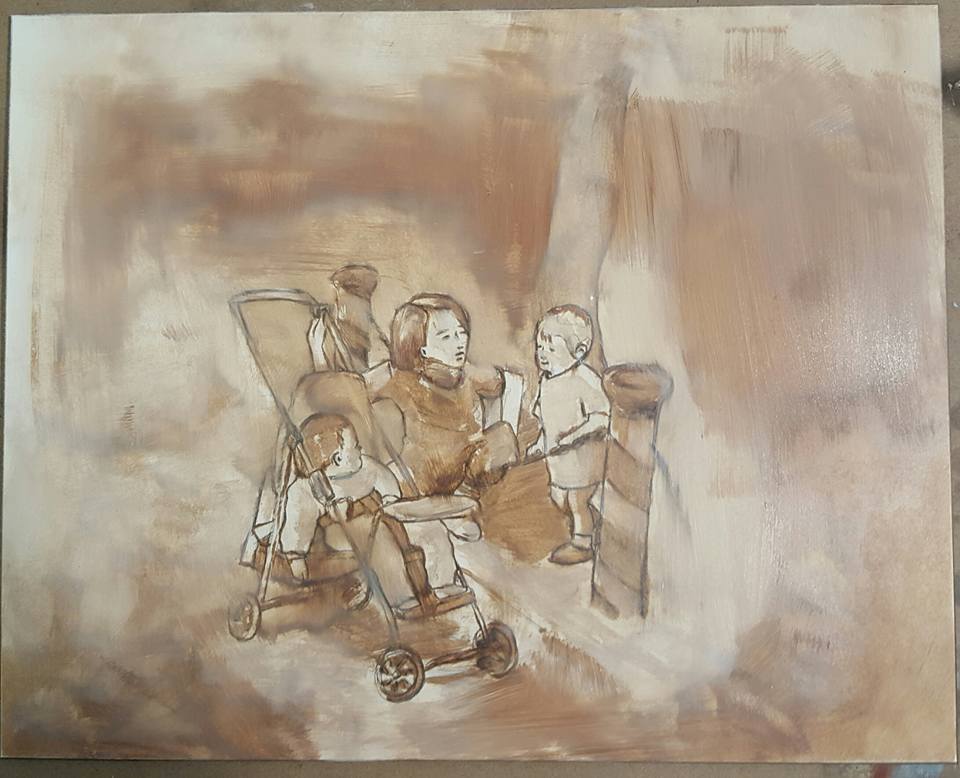
Omma (엄마)
Stage 1: Began base in burnt umber. The coats had to be added in fine coats because of the smoothness of the clay board beneath it. Stage 2: Created the base layer of shapes and colors. The paint at this point is still thin enough to use the burnt umber base to define the values. Stage 3: Began adding thin glaze layers to push the shadows and lights. Stage 4: The final texture was added via a metal stencil. After drying, it was sanded to have the layers of paint beneath it show through. |
|
|
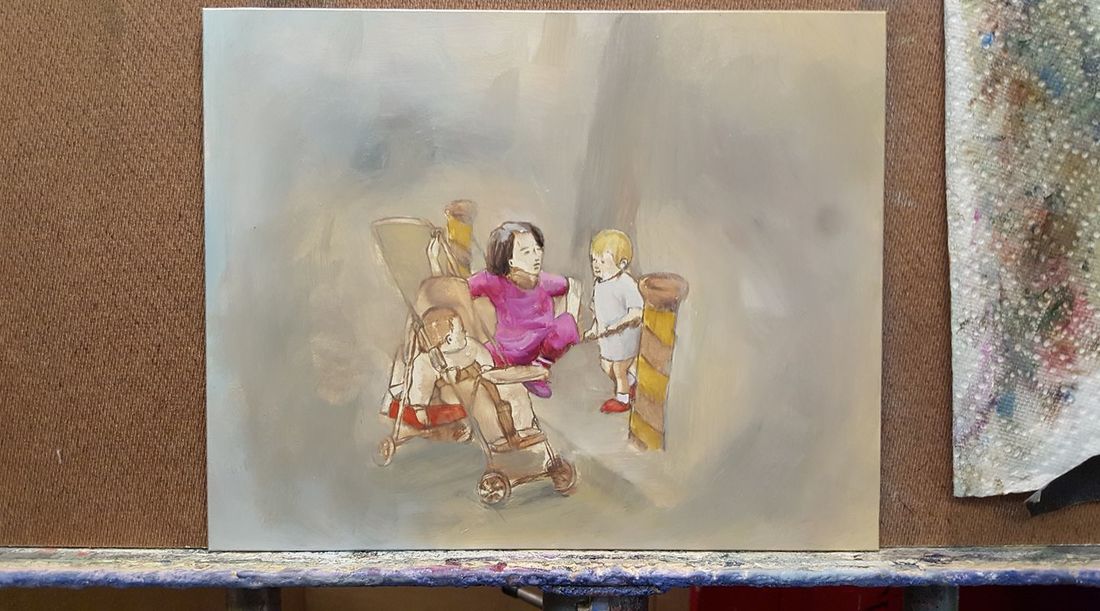
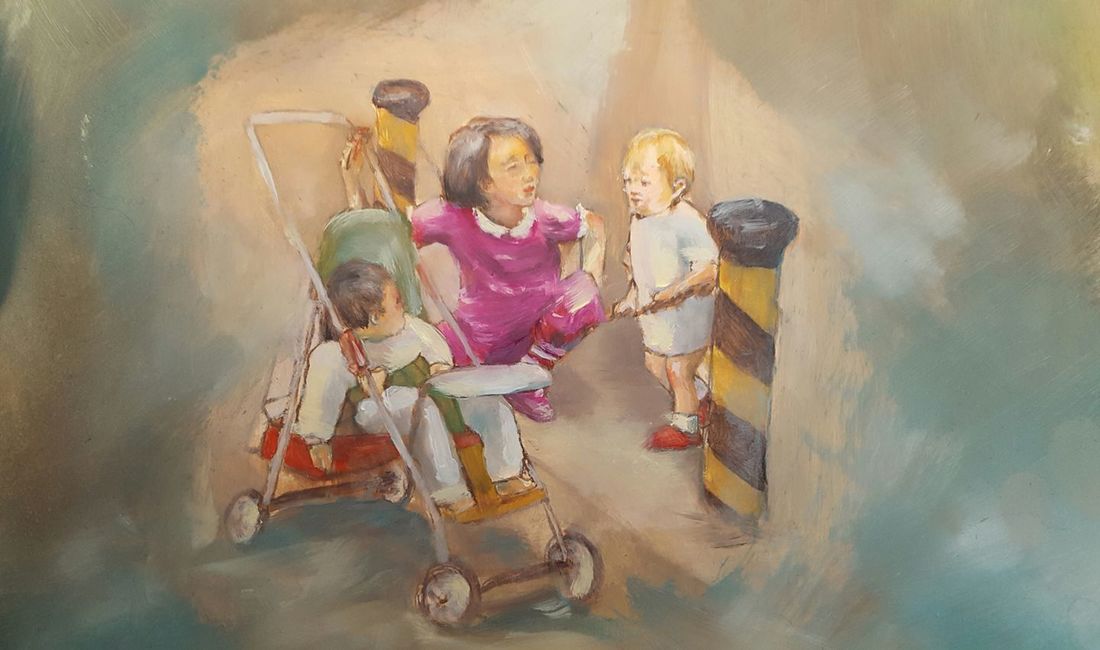
Memories of Home
Stage 1: Began base in burnt umber. The coats had to be added in fine coats because of the smoothness of the clay board beneath it. Stage 2: Created the base layer of shapes and colors. The paint at this point is still thin enough to use the burnt umber base to define the values. Stage 3: Continued adding layers of glaze to push lights and shadows. |
|
|
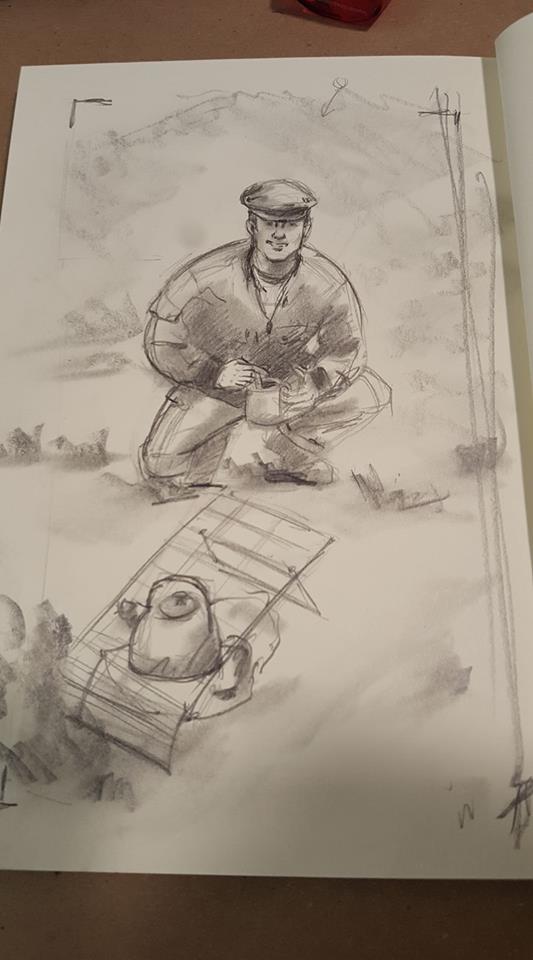
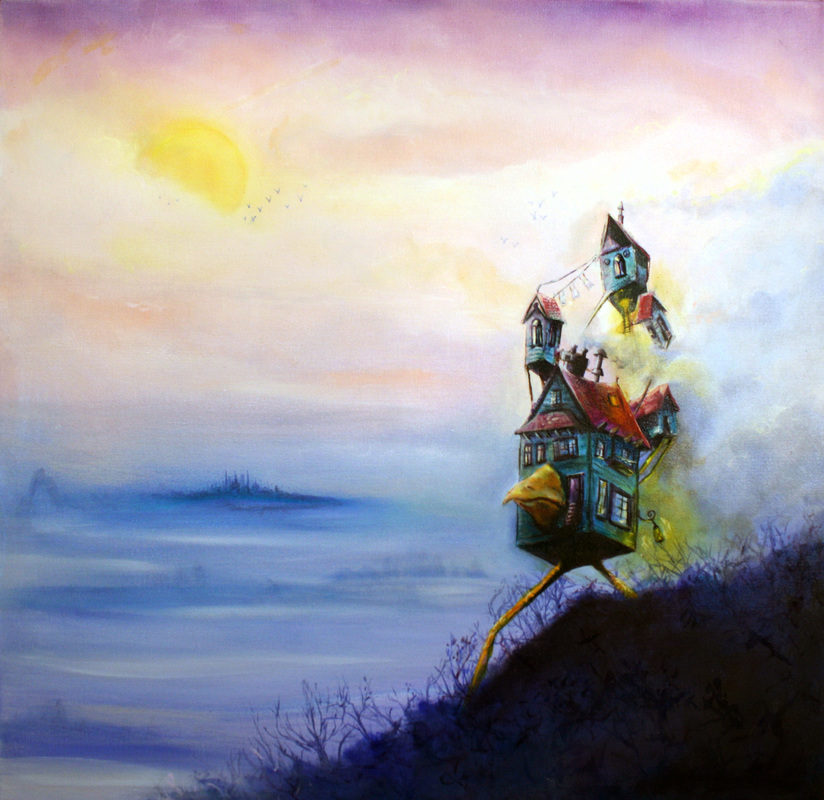
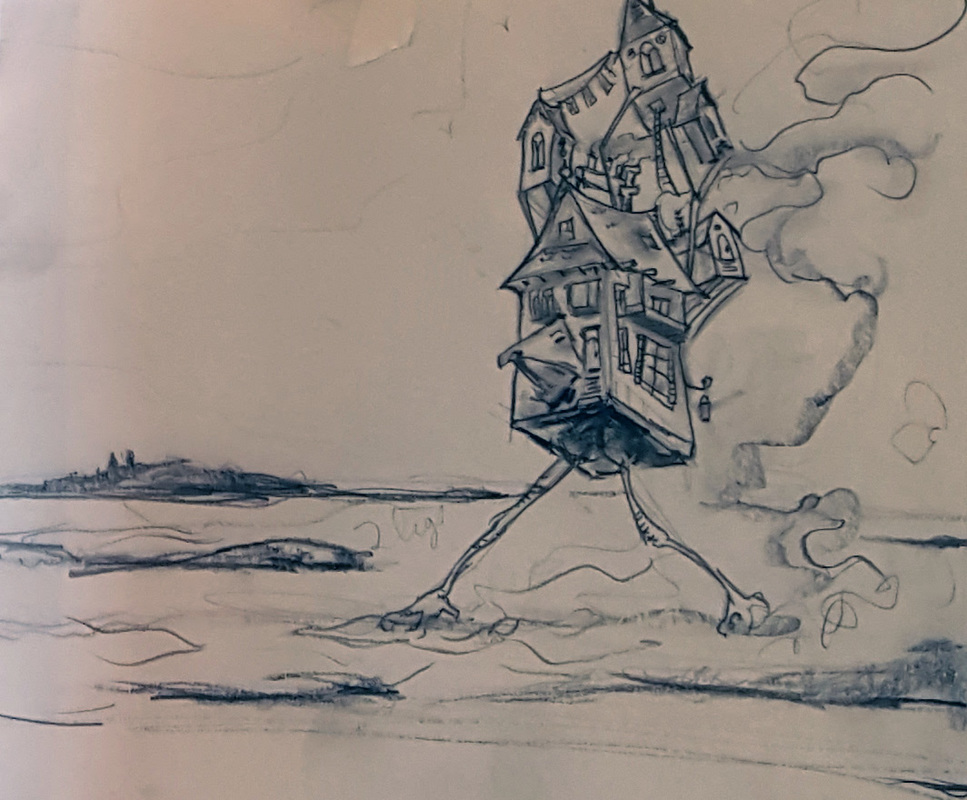
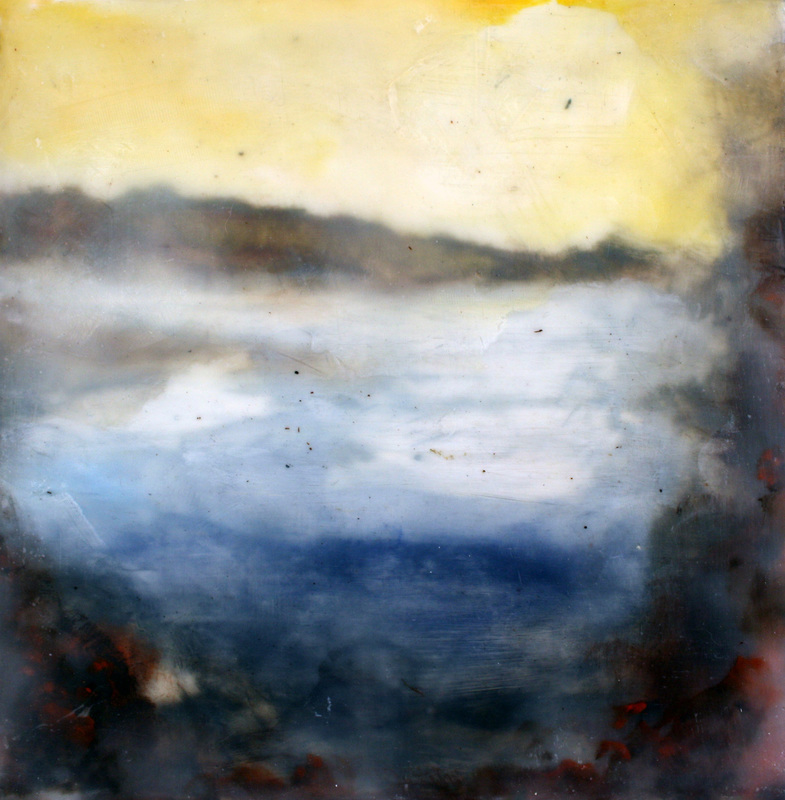
Forward Bound
Stage 1: Applied loose, watery acrylic's for the landscape to increase the virbrancy of the oils used later. Stage 2: Refined base colors of the house with acrylics. Stage 3: Moved to oils, using thin glazes to enable the hazy, luminescence of sky, clouds, and mist, and lighting. Stage 4: Defined shapes, depth, and value by using thin glazes of oil for final refinement. |
|

|
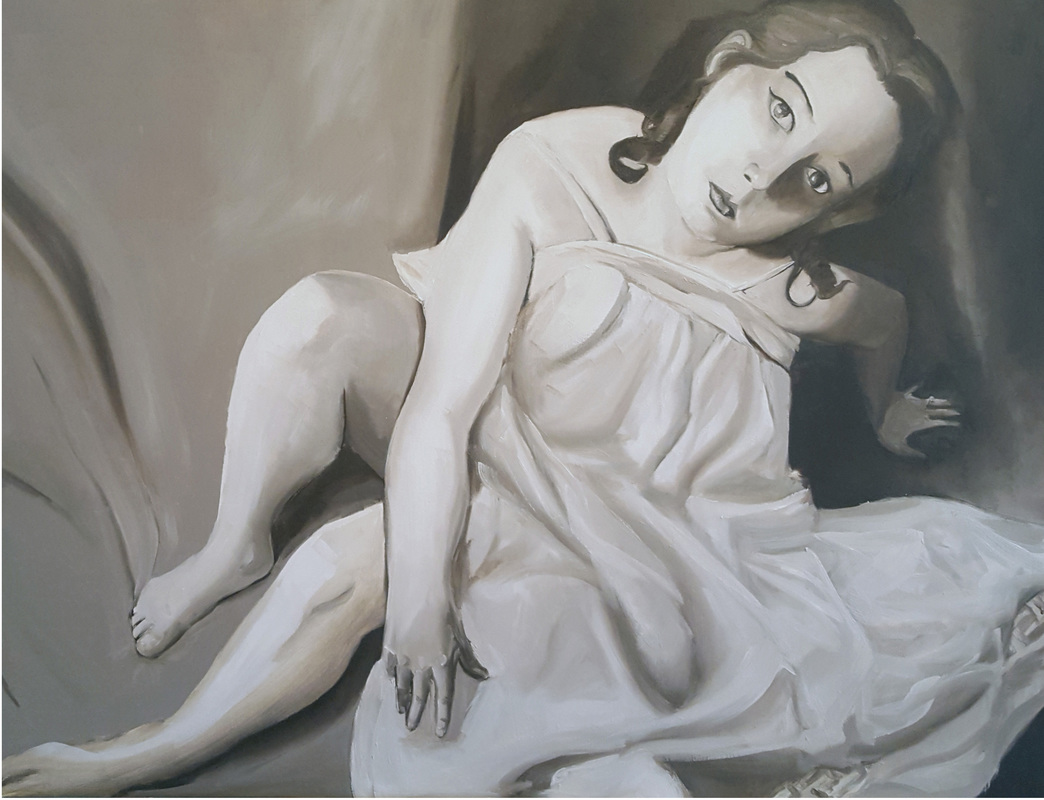
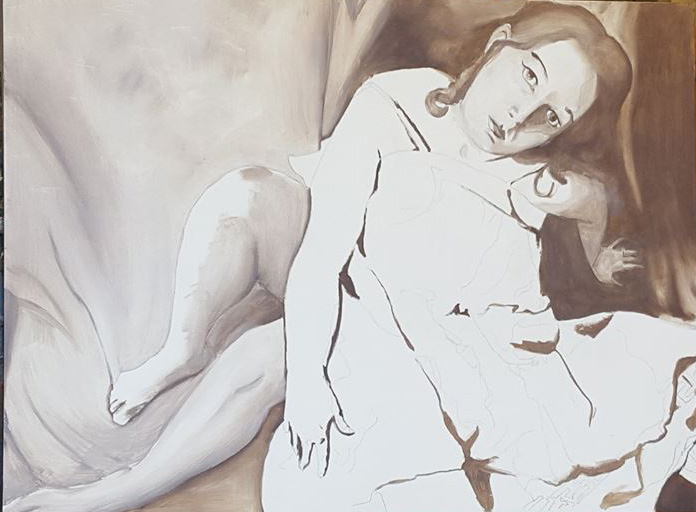
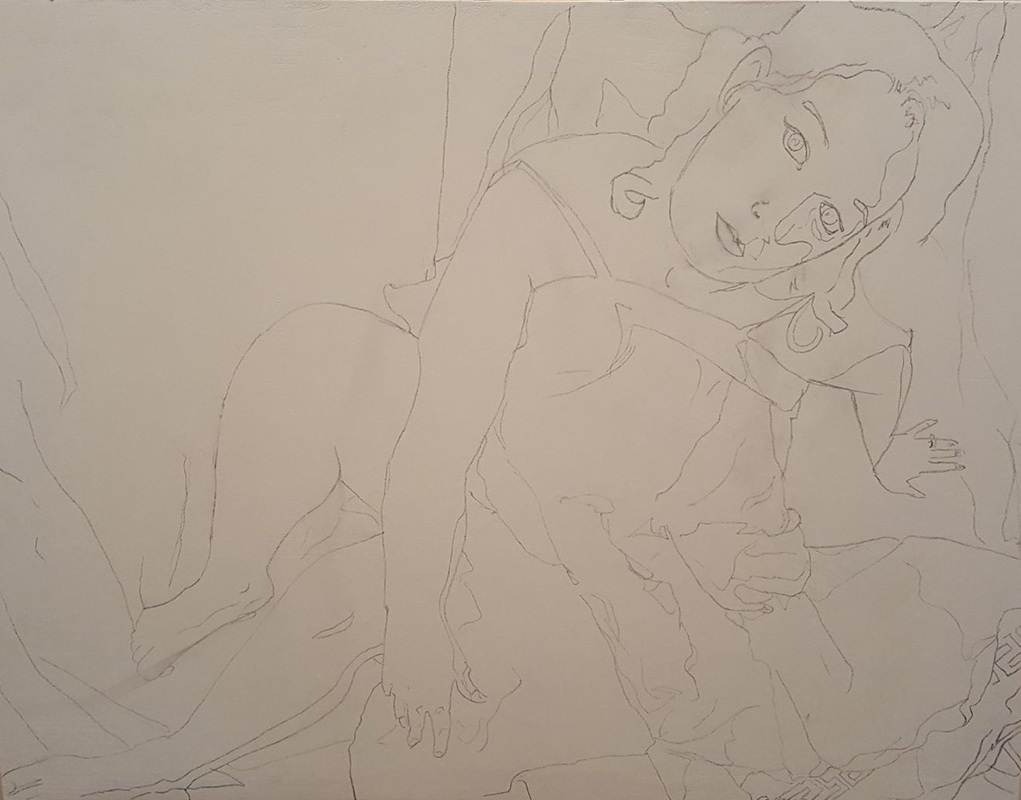
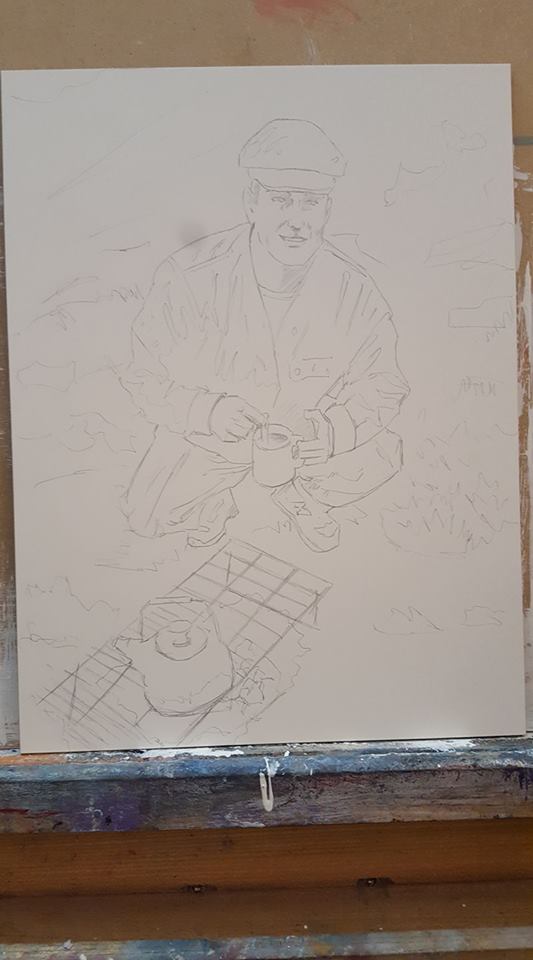
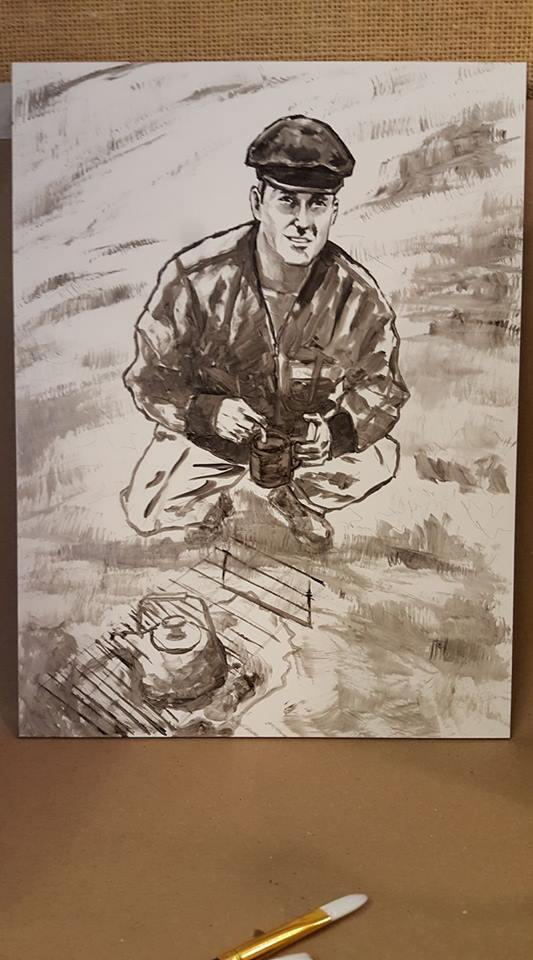
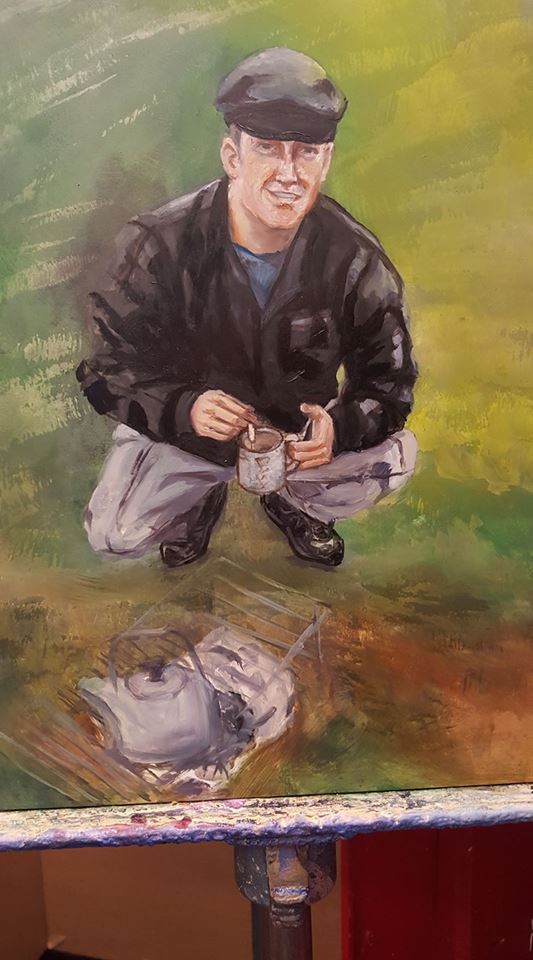
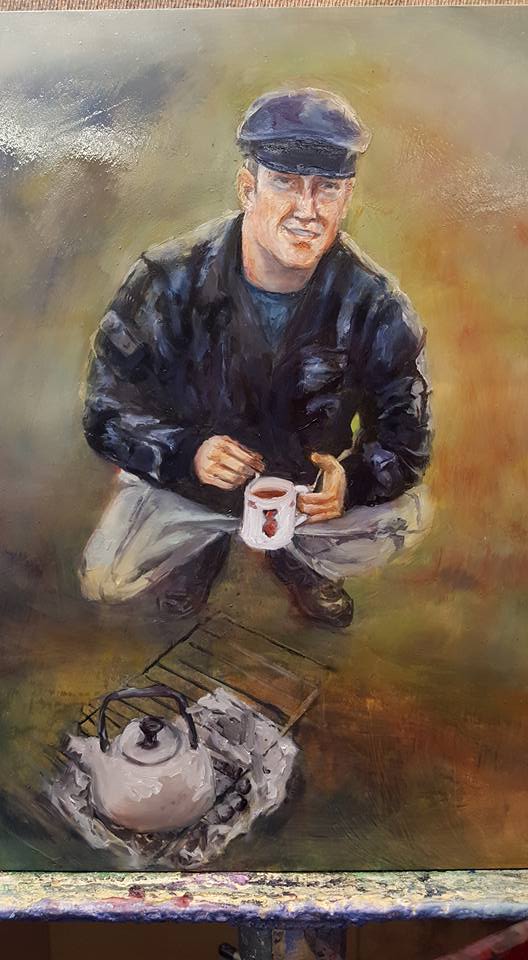
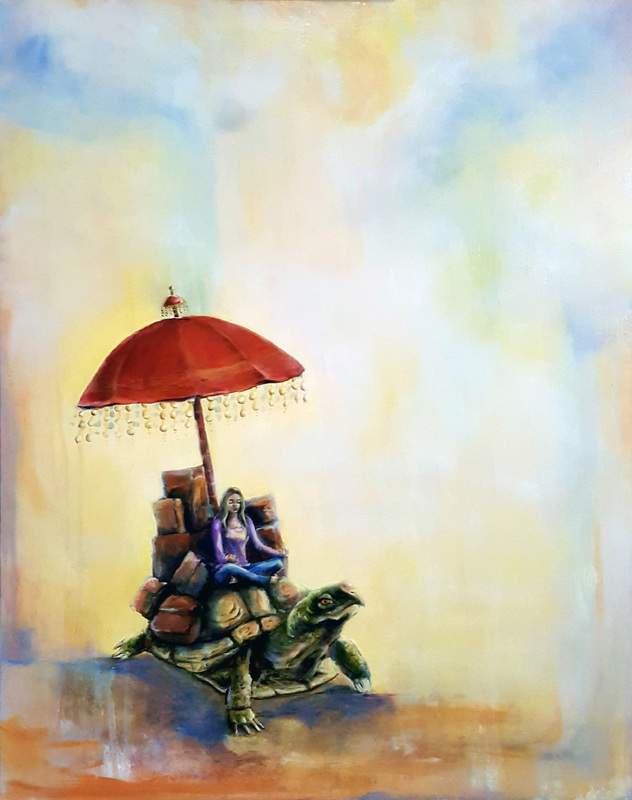
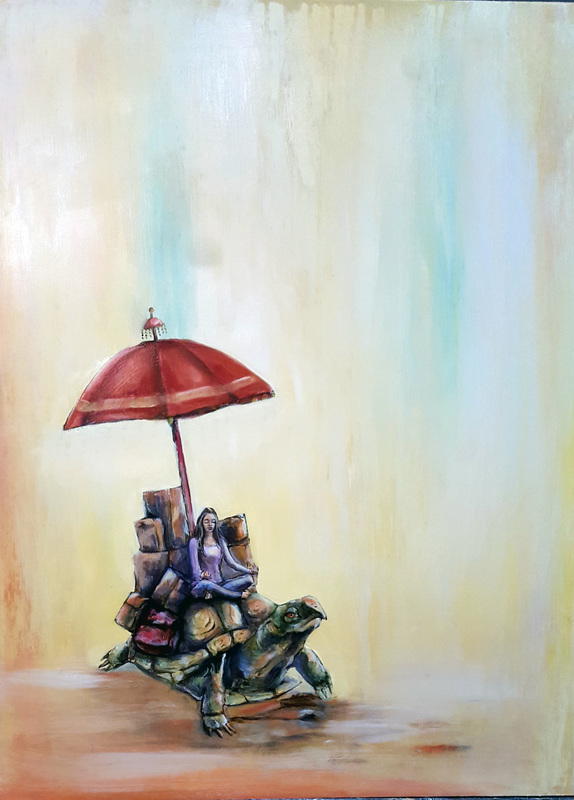
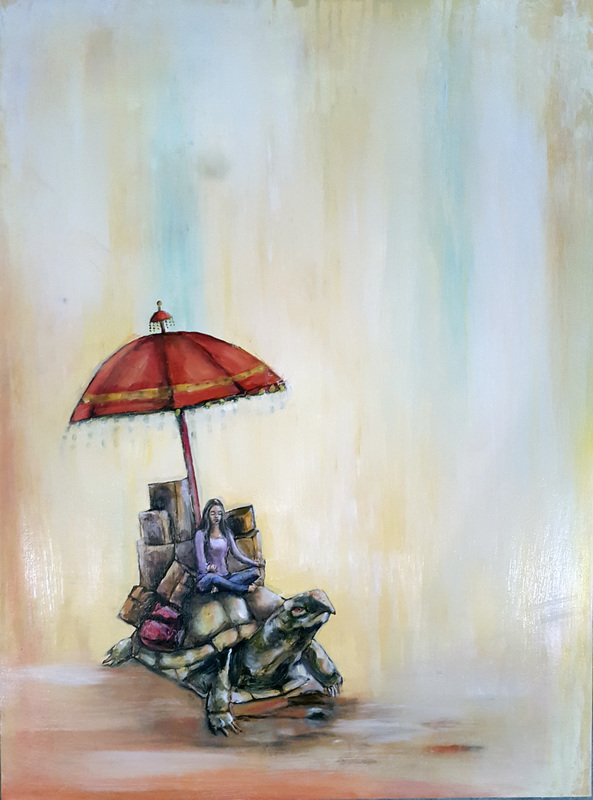
In the Moment
Stage 1: Sketched form on gessoed masonite. Stage 2: Created monochromatic for base layer in raw umber and titanium white. Stage 3: Created background texture by wetting oil with turpentine. Stage 4: Defined shapes, depth, and value by using thin glazes of oil. |
|
|
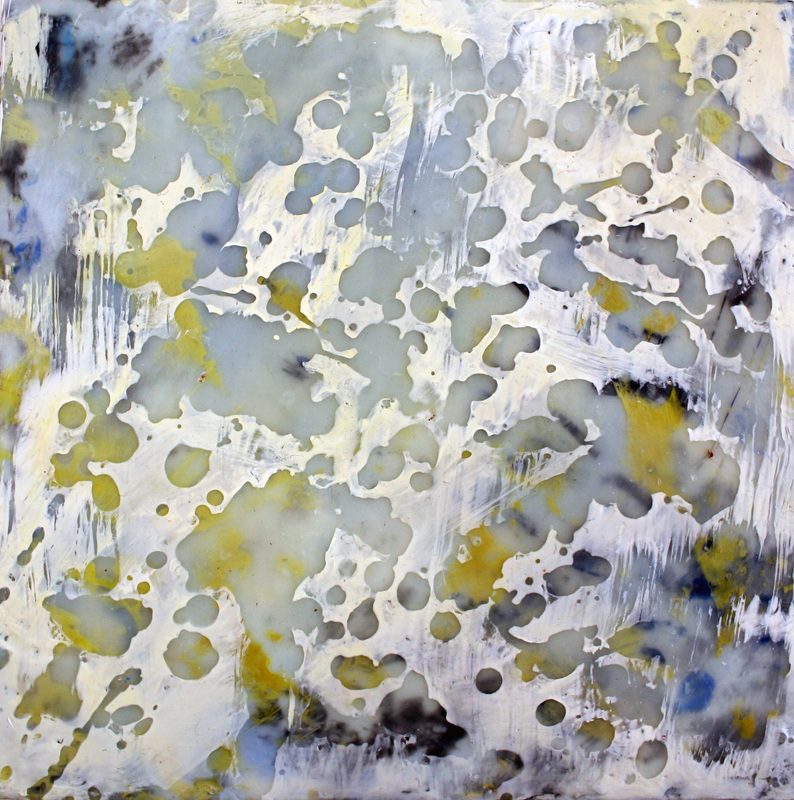
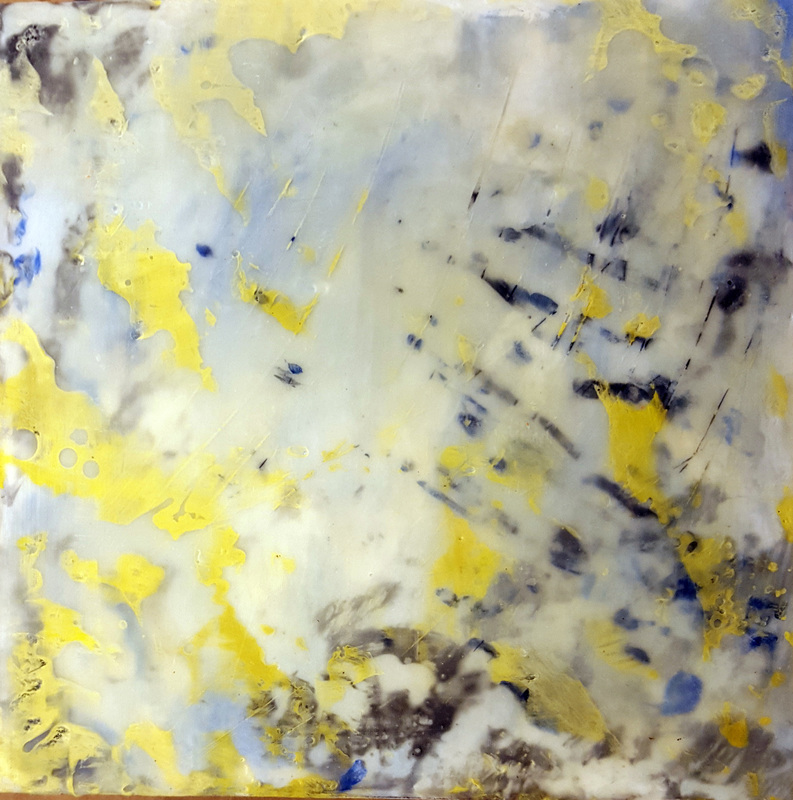
Encaustic Series
Stage 1: Applied layer of encaustic wax, apply heat gun evenly to create flat surface. Stage 2 A: For black and white transfer: used xerox copy of personal photograph, brayed image into the smoothed wax, applied water and rubbed until paper was completely removed. Reapplied heat gun to set image into wax. Stage 2 B: For color Transfer used laser print. Repeated the next steps as you would for the black and white transfer. |
Continued...
Stage 2 C: For "Dexter Splatter", applied mounds of wax, applied layer of colored wax, and then scraped away until smooth. When peaks of wax became completely removed, it would show the texture of the first layer, while the rest would be covered with the layer of colored wax. Stage 2 D: For mixed media using oil, after applying the first layer of wax and smoothing it, painted with oils and allowed it to dry before adding each layer. Stage 3: Repeated these stages until the piece acquired depth. Stage 4: Final smoothing, used acetone and pantyhose to obtain a pristine smoothness. |
|
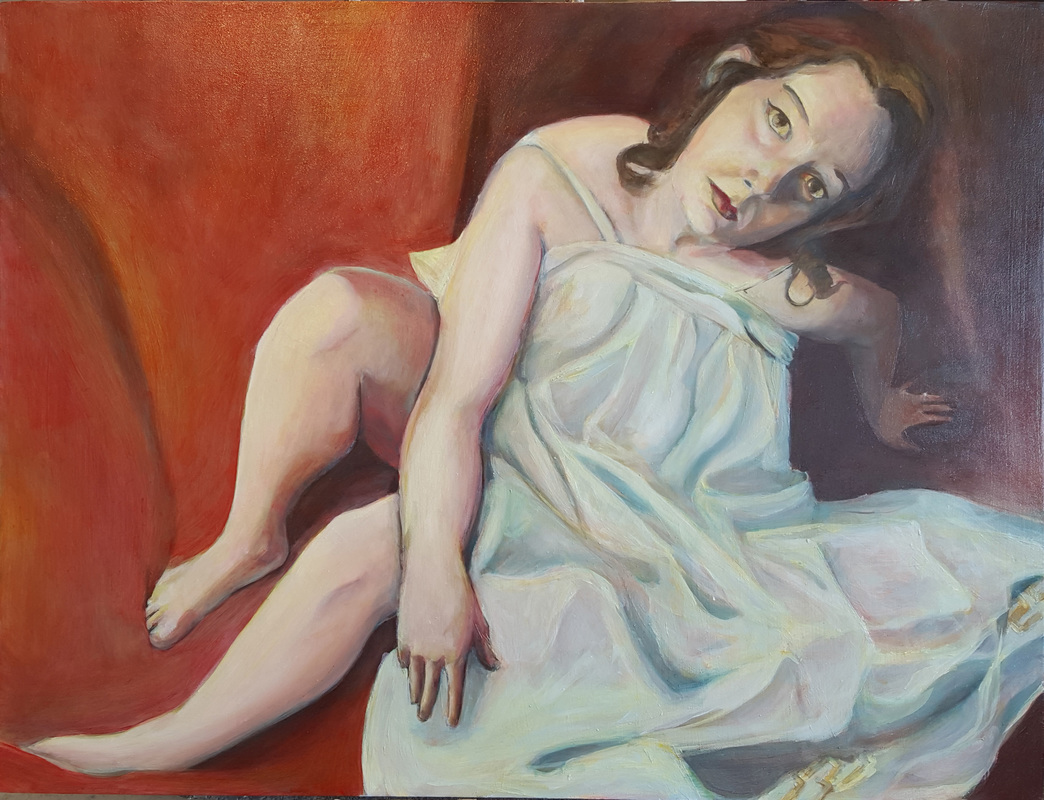
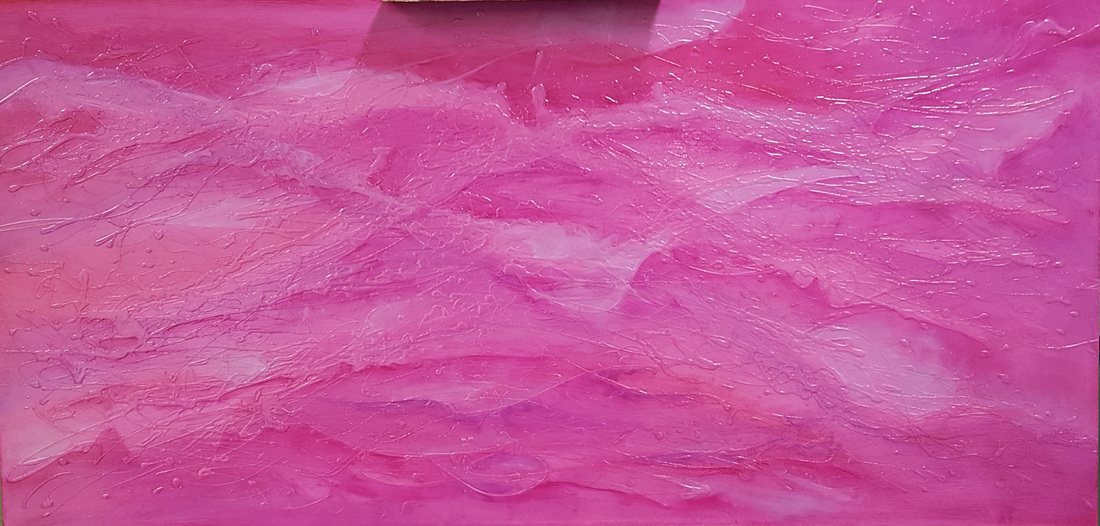
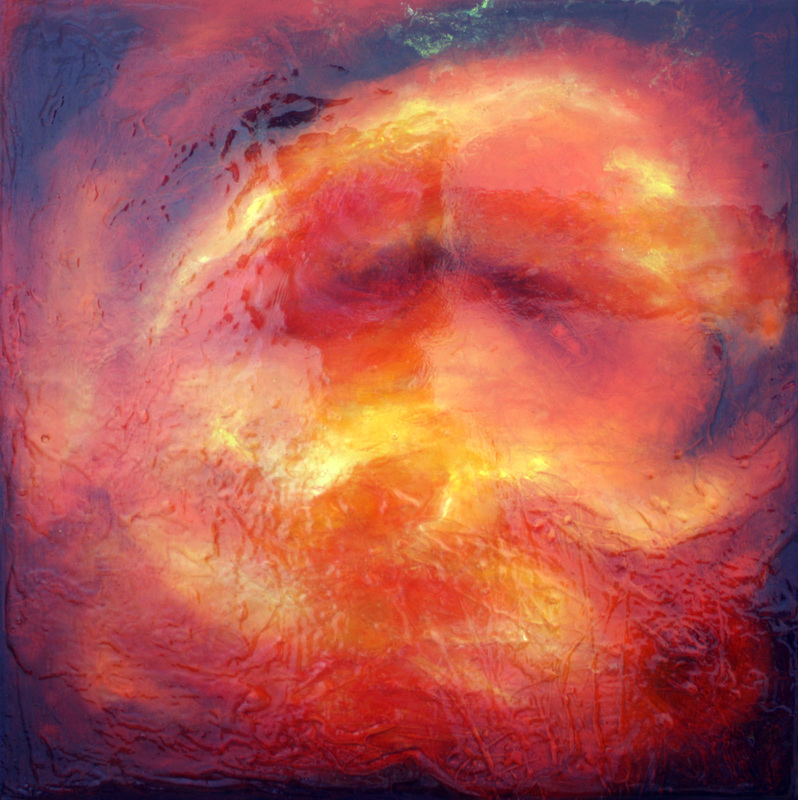
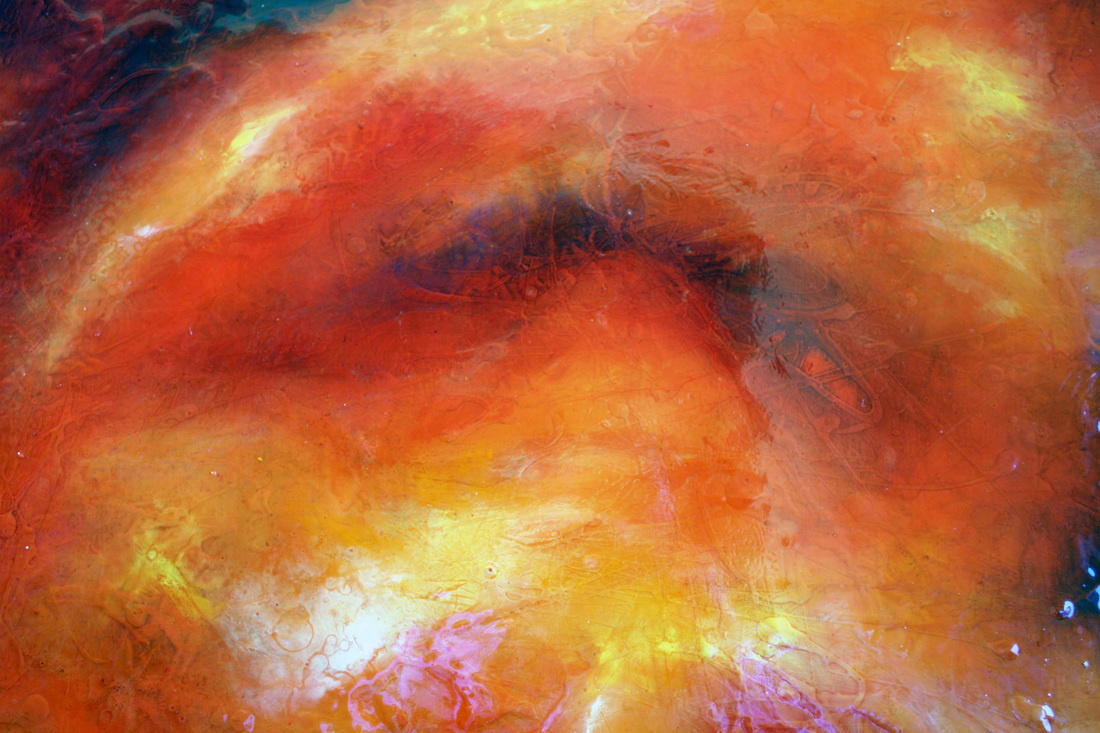
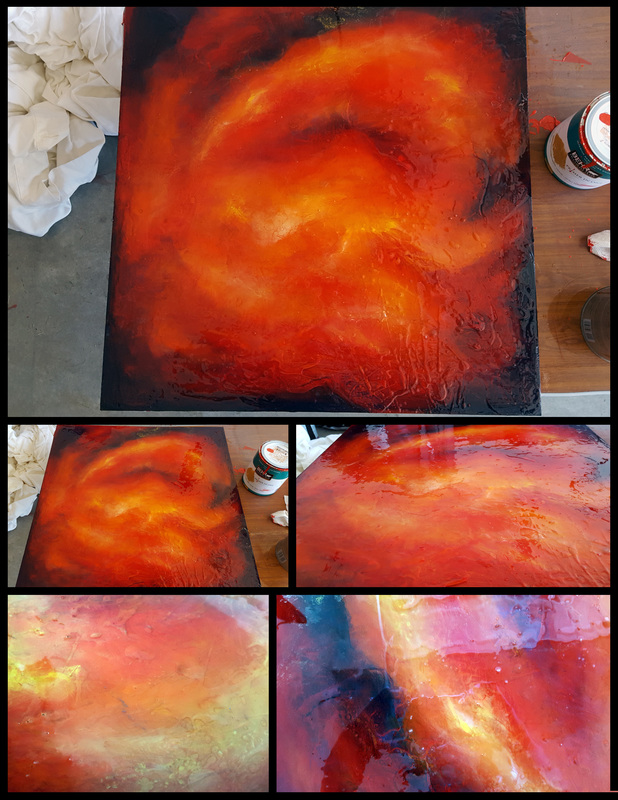
Peaceful Fluidity
Sequel to Disquietude with further push of this series process. Stage 1: Built layers of thick, pink paint for the base layer of the piece. Stage 2: Applied thin layers of glazes until the depth of color was achieved. Stage 3: Pushed lights of the piece a final time and added thick, clear glaze while still wet to achieve a "lifted" appearance of the final glaze. Stage 4: Applied layers of clear glaze until desired thickness and smoothness of surface. |
|
|
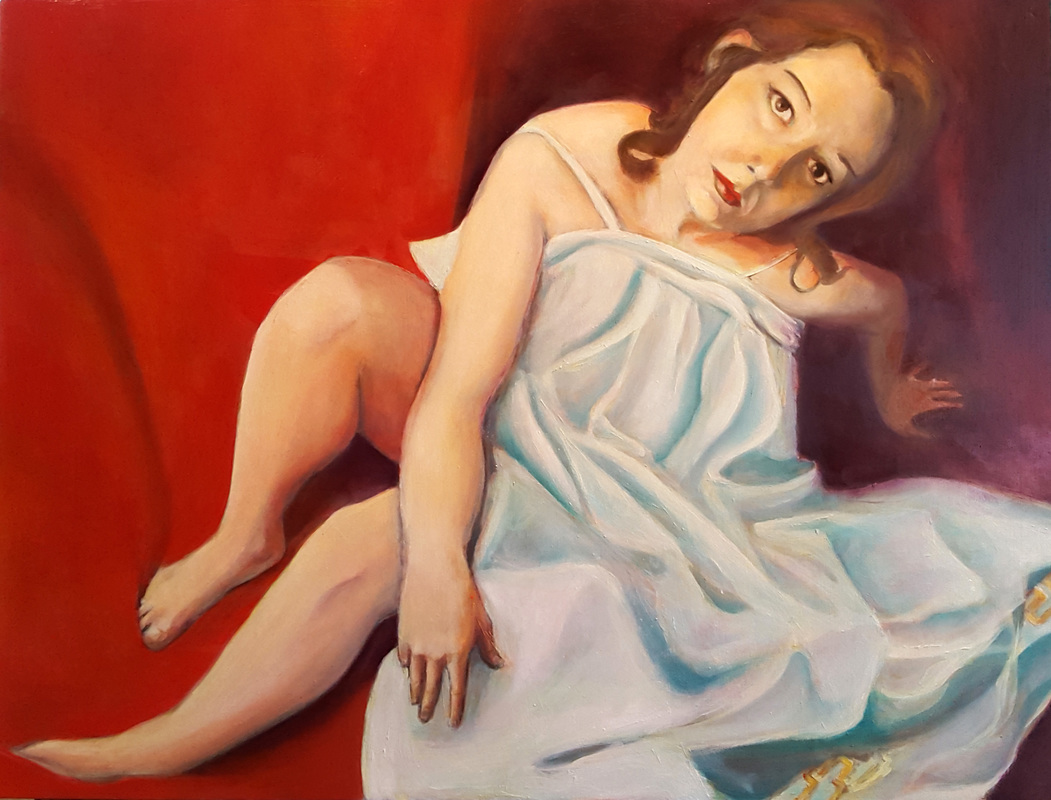
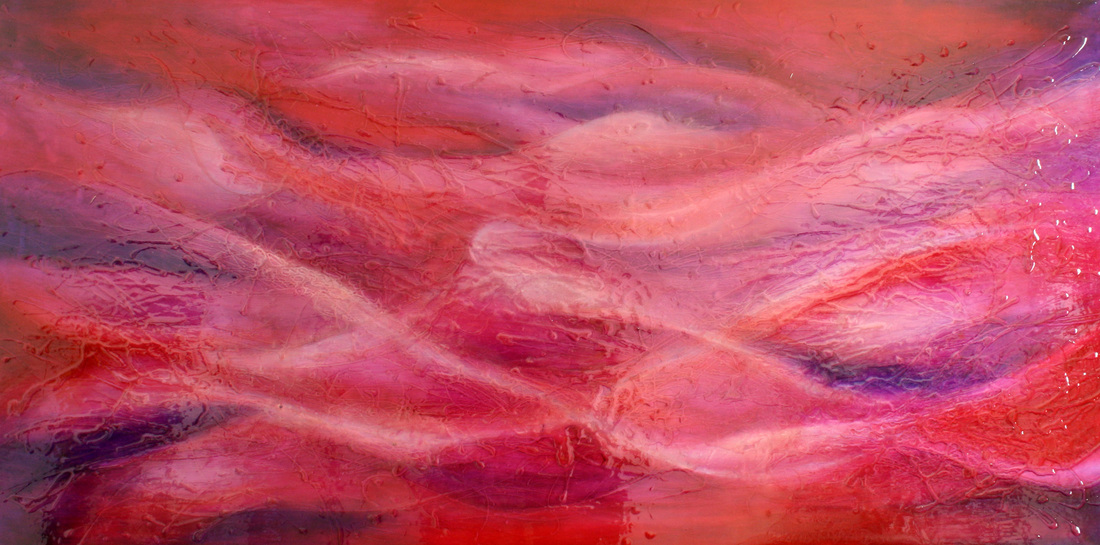
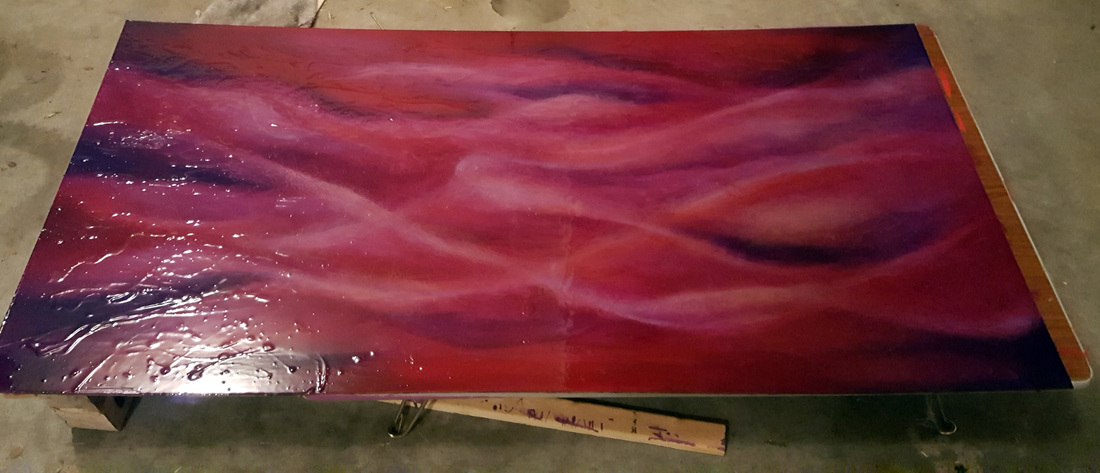
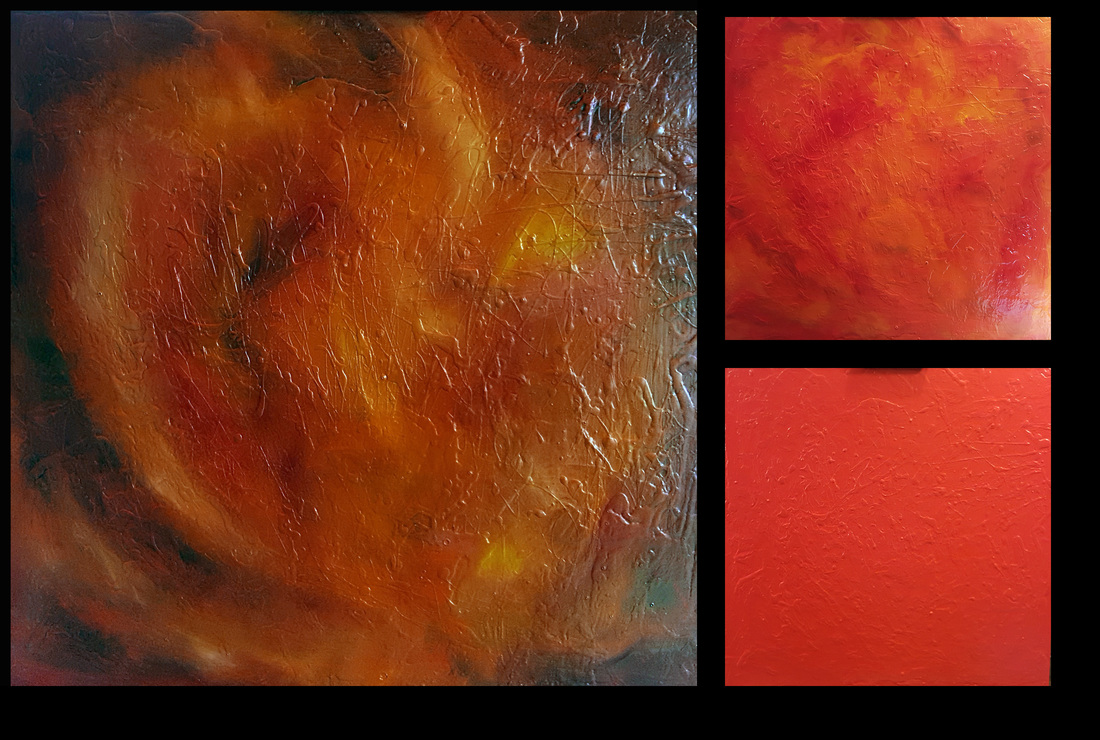
Disquietude
Stage 1: Built layers of thick, bright red paint for the base layer of the piece. Stage 2: Applied thin layers of glazes until the depth of color was achieved. Stage 3: Pushed lights of the piece a final time and added thick, clear glaze while still wet to achieve a "lifted" appearance of the final glaze. Stage 4: Applied layers of clear glaze until desired thickness and smoothness of surface. |
|
|
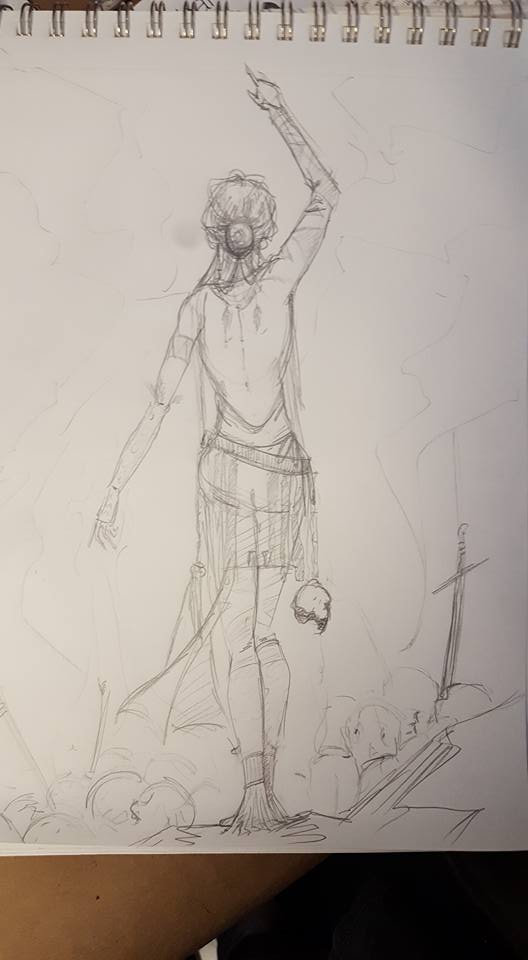
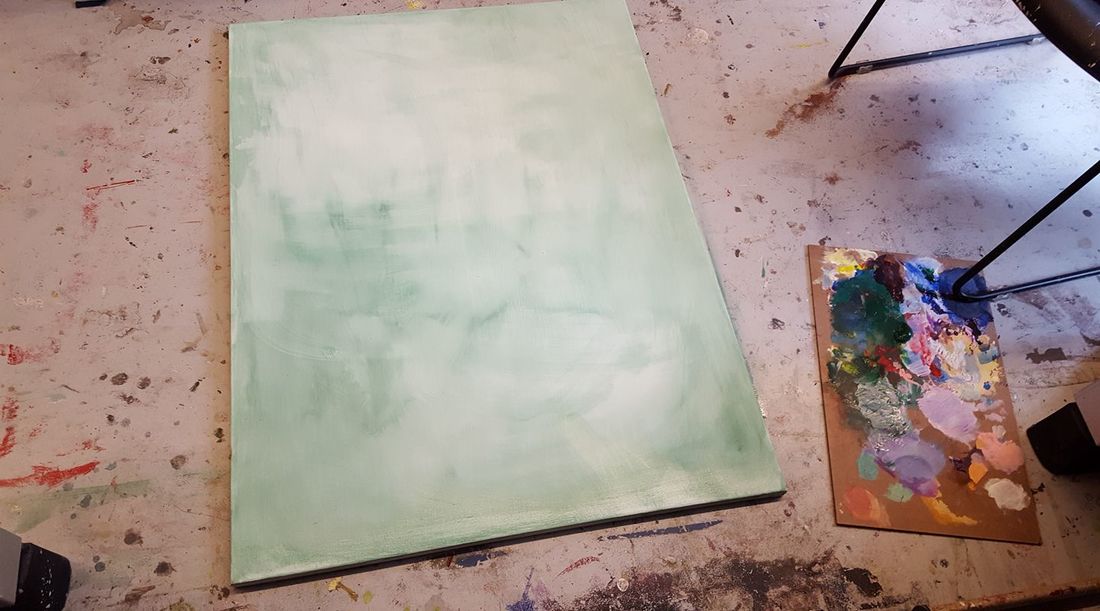
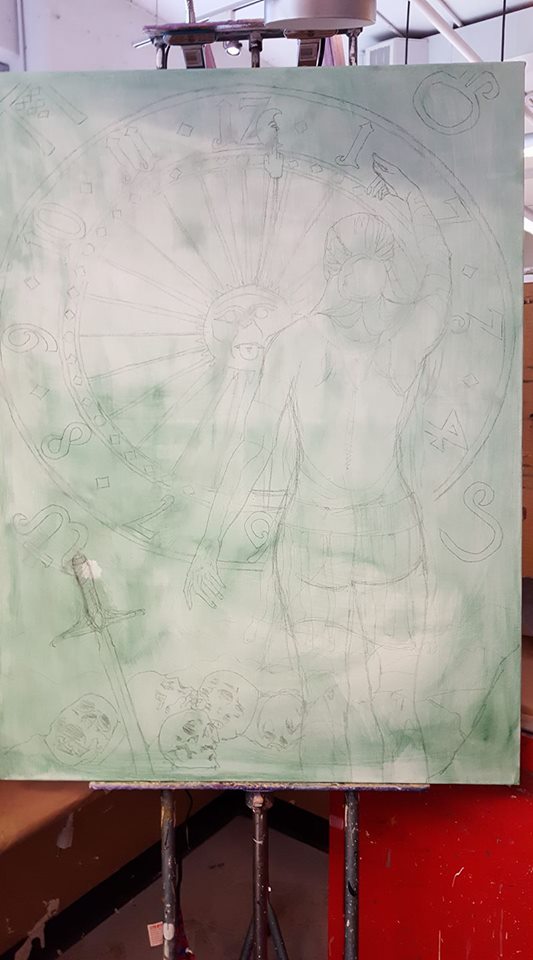
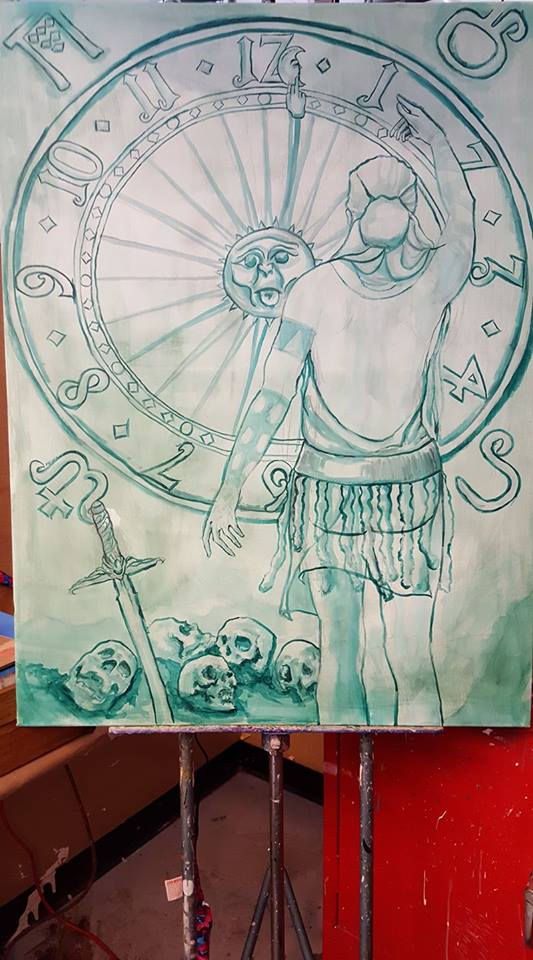
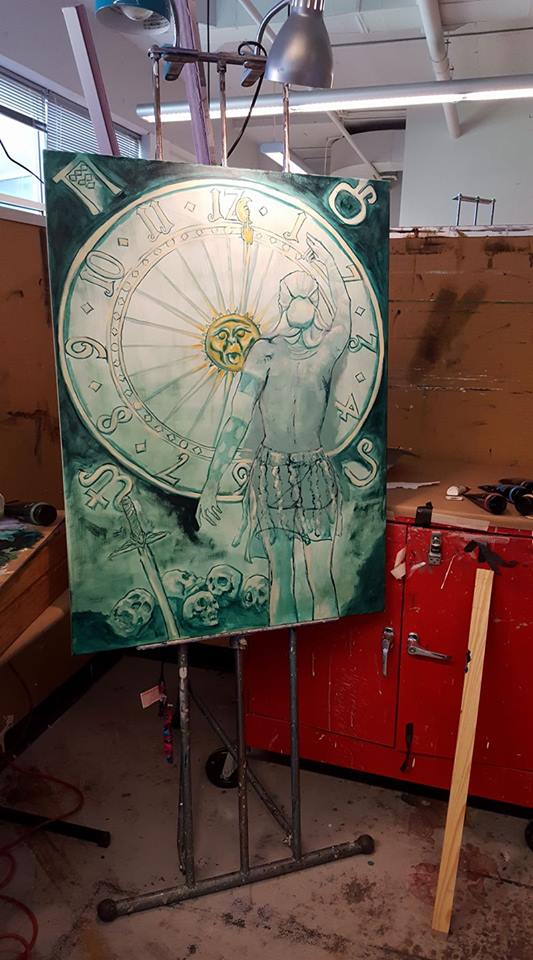
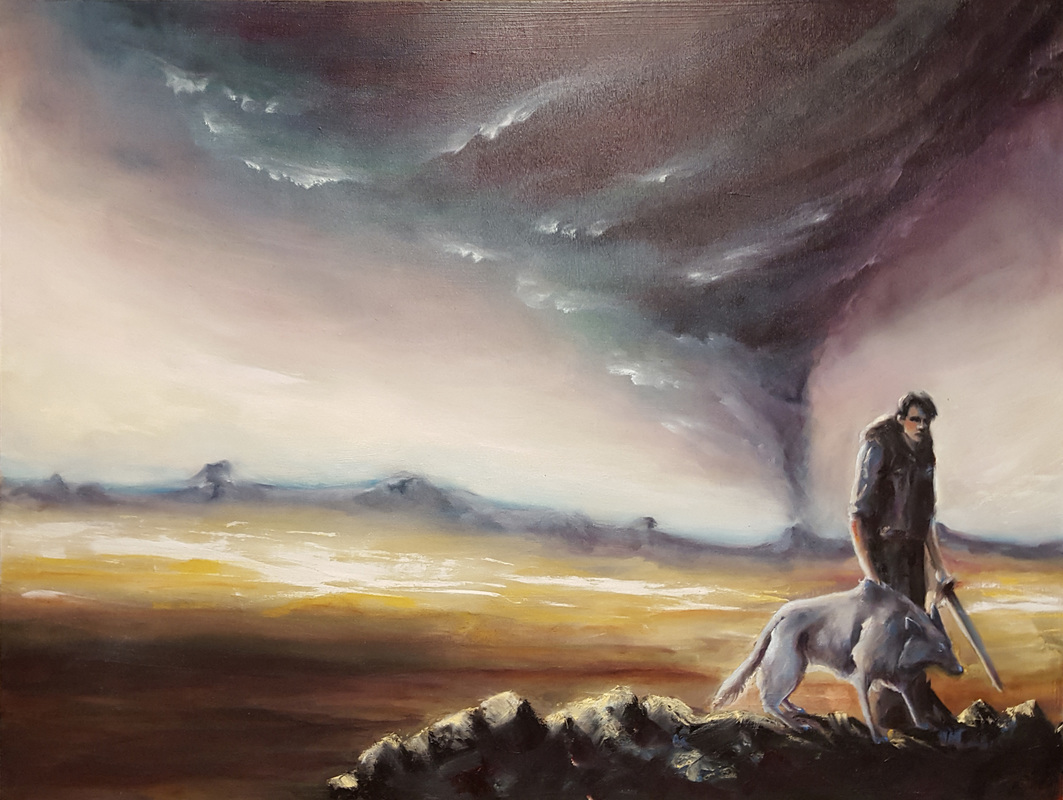
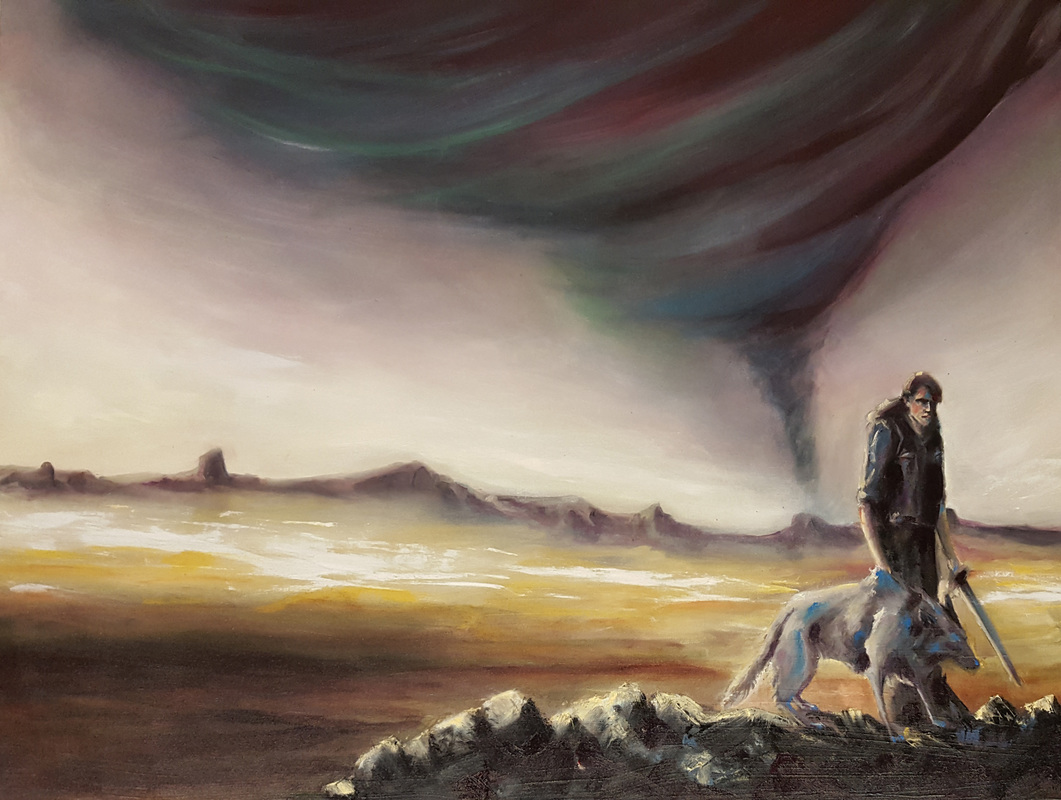
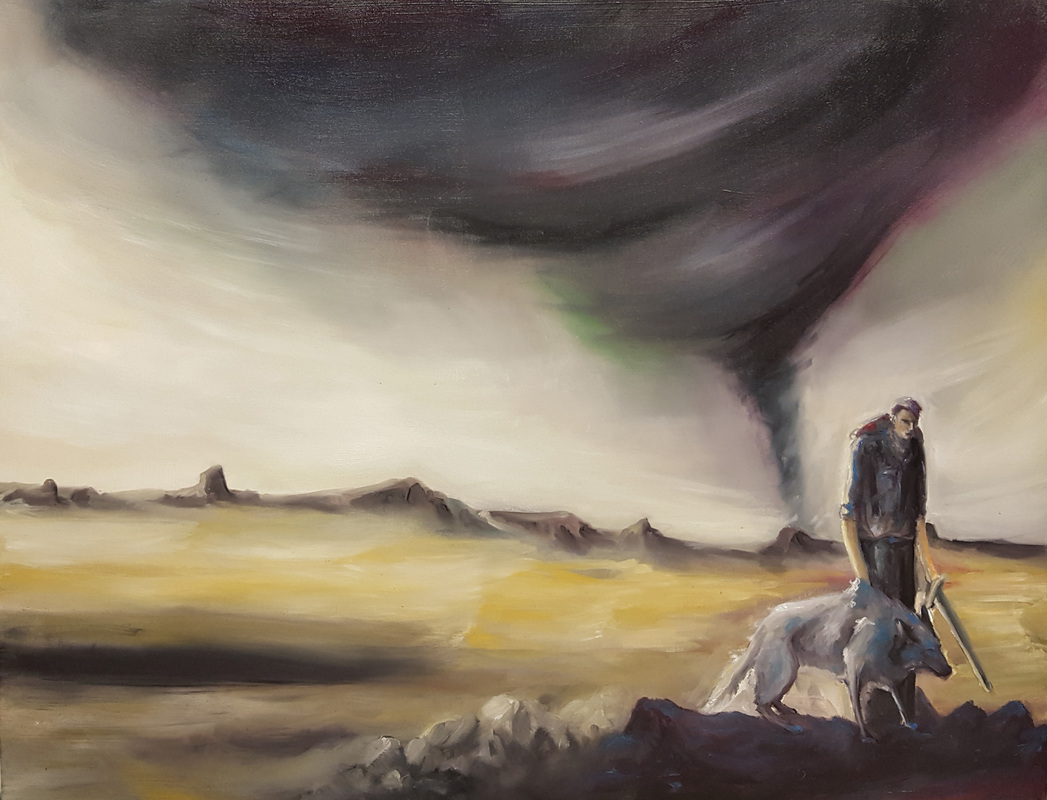
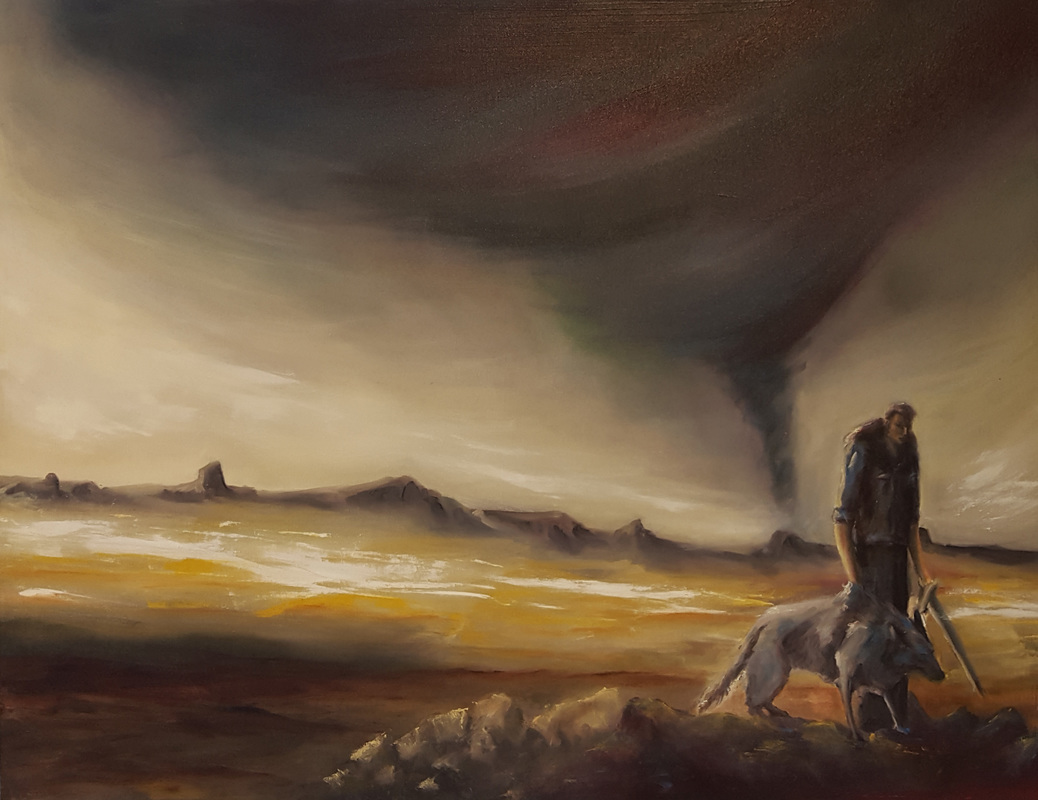
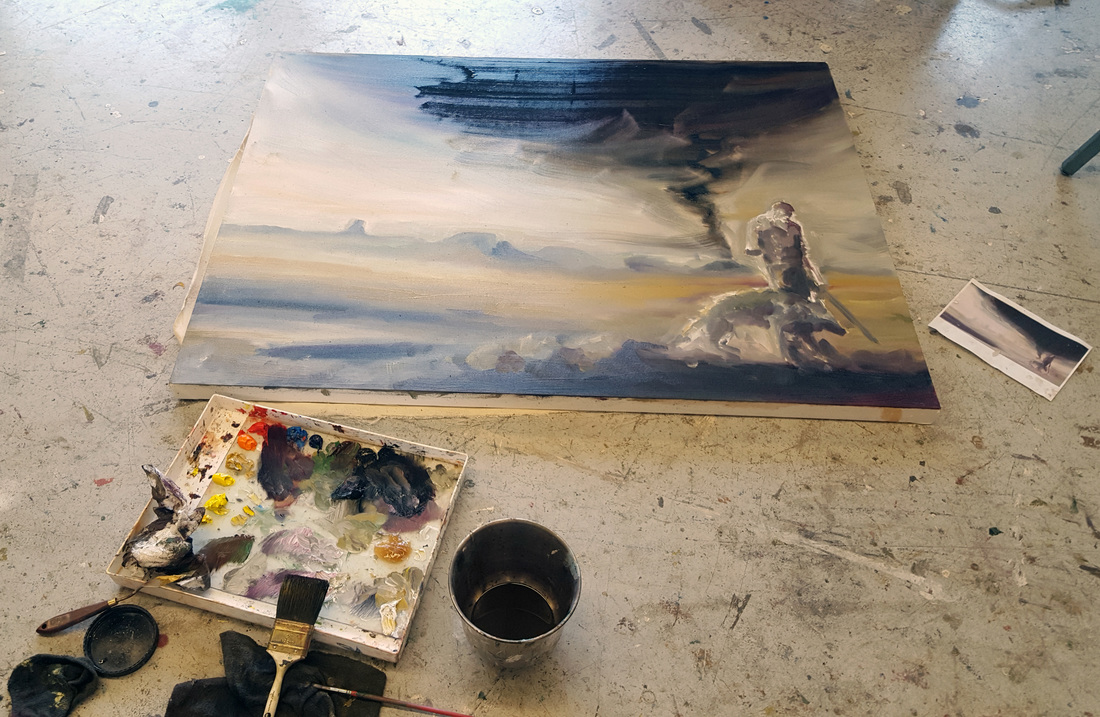
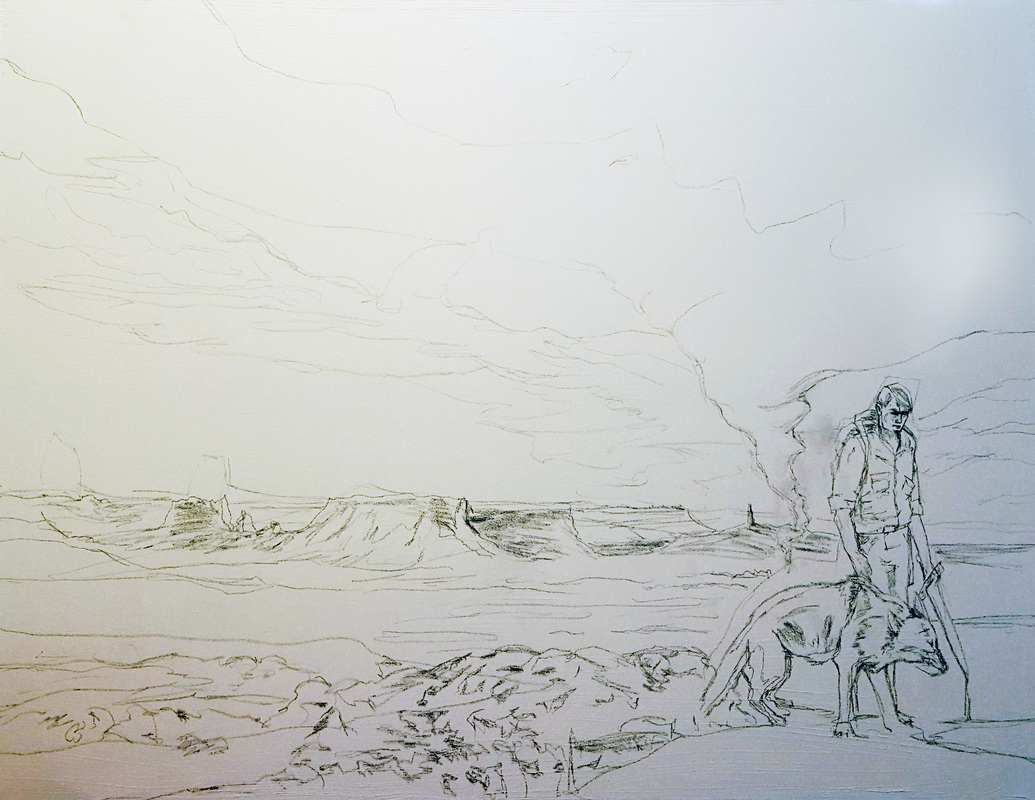
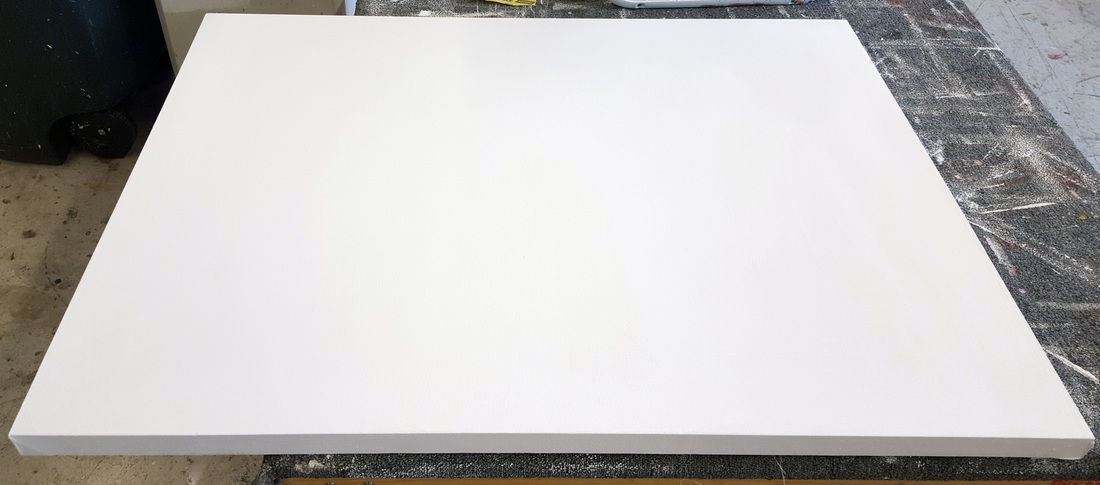
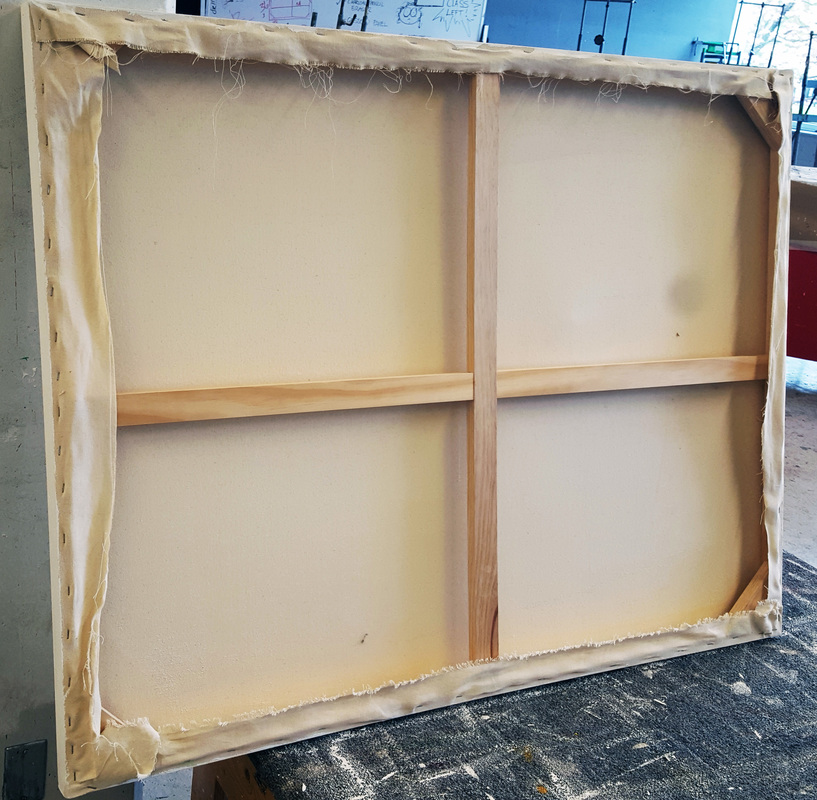
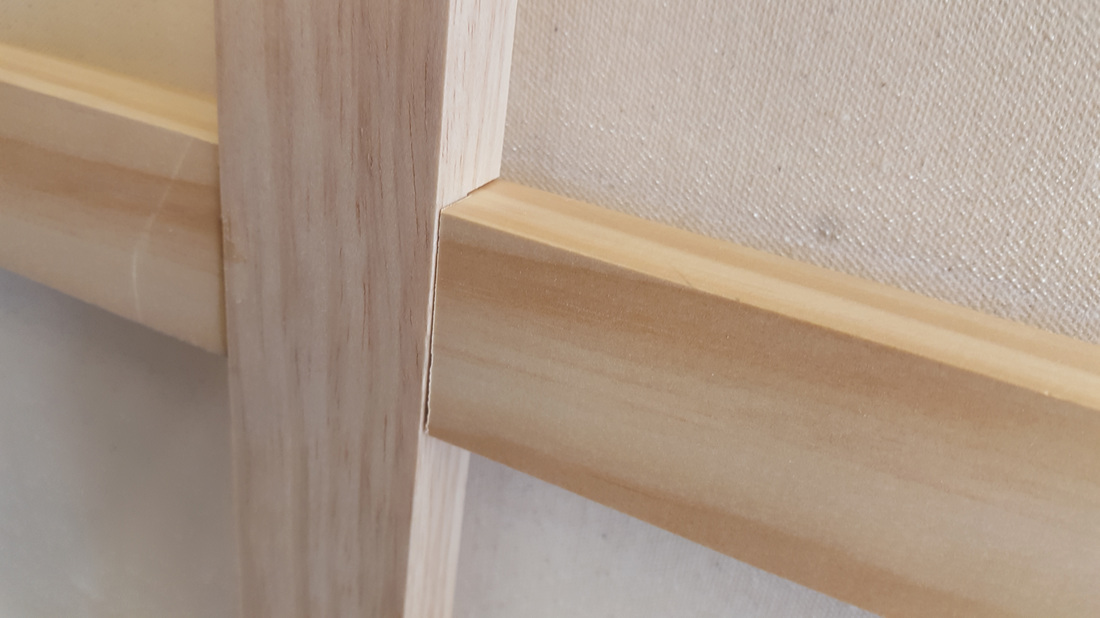
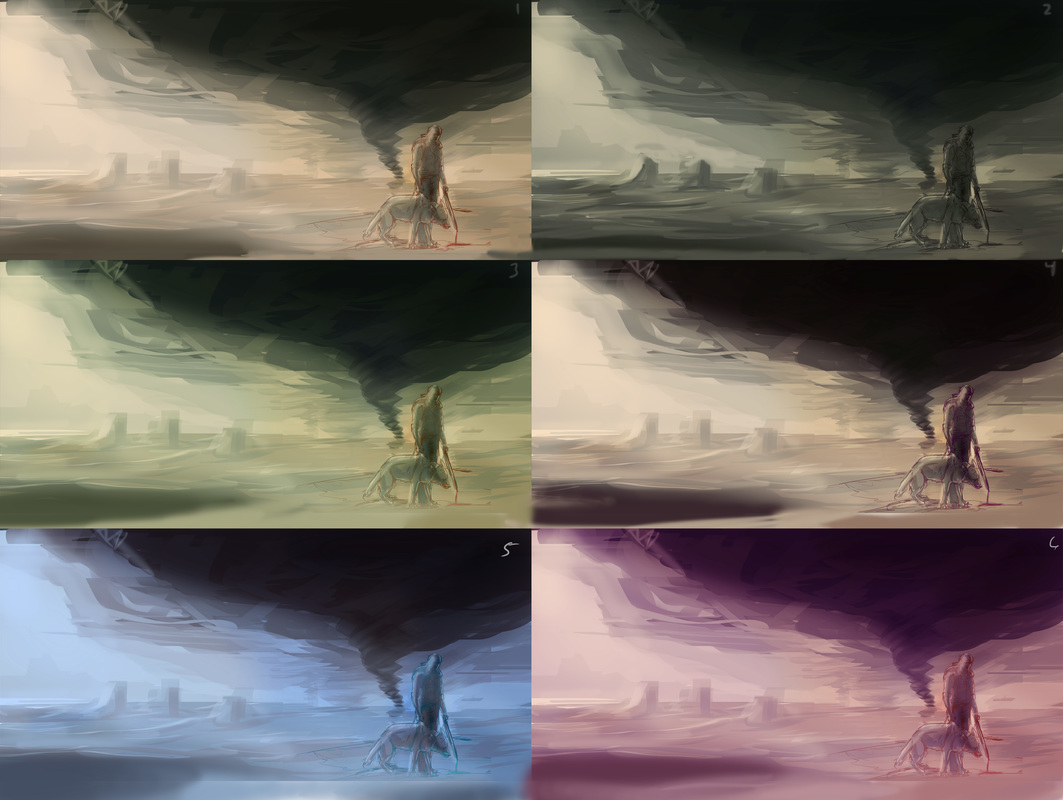
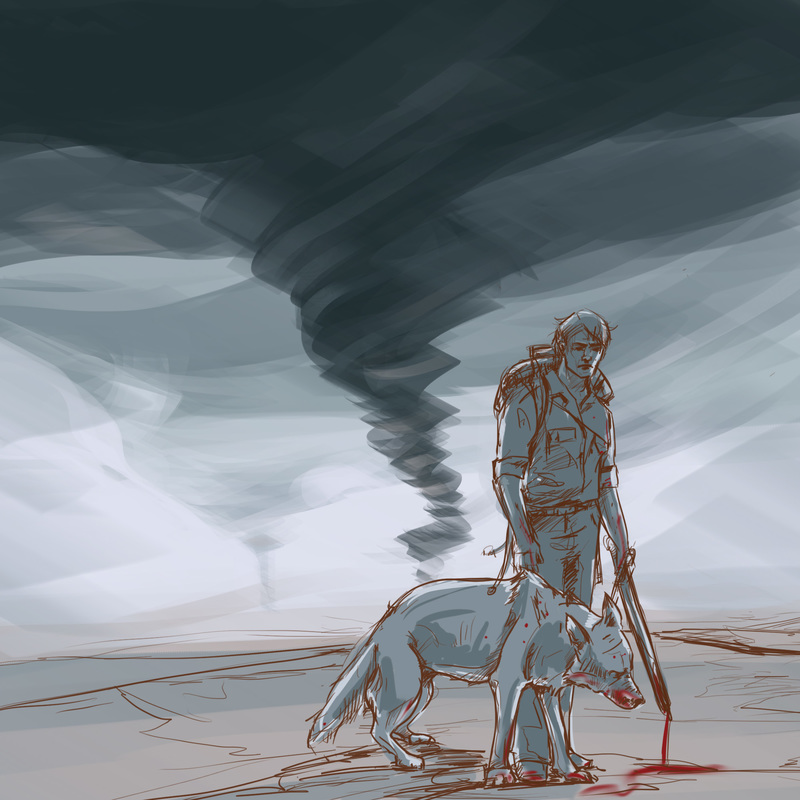
Contemporary: Forward is the Only Option
Stage 1: Sketched initial concept and blocked lighting concept. Stage 2: Created several mock images to decide on color scheme. Stage 3: Built 3X4 foot frame and stretched canvas. Stage 4: Gessoed and sketched image onto canvas. Stage 5: Placed canvas on floor and painted loosely with turpentine thinned oils to capture dynamic motion within the basic forms of the painting. Stage 6: Applied layers of oils in forms of glazes and building up of forms to create more defined rendering of figures and objects within artwork. |
|
|
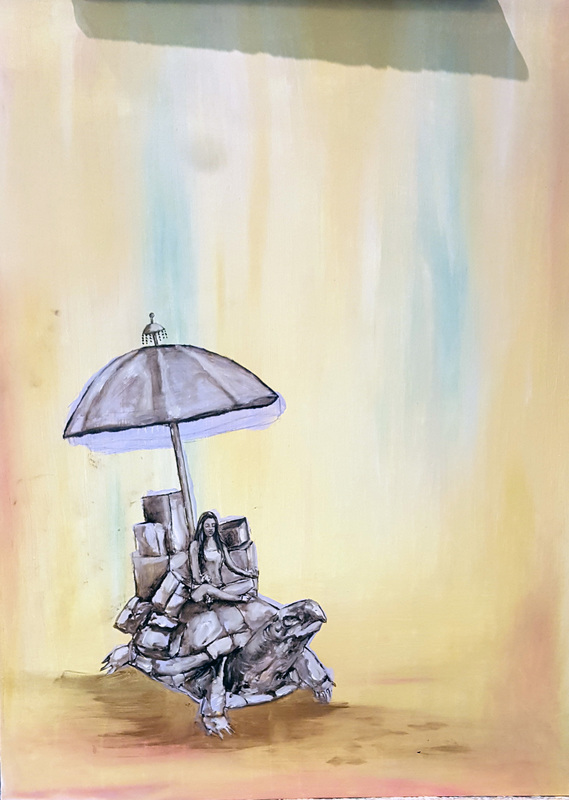
Verdaccio
Stage 1: Sketched form on gessoed masonite. Stage 2: Created monochromatic for base layer in raw umber and titanium white. Stage 3: Glazed a single layer of green (teravera). Stage 5: Glazed a color banding of lemon yellow (highlights), alizarin crimson (midtones), and cerulean blue (shadows) Stage 6: Began glazing true colors of the painting in thin layers. |
|